Using F# in Godot 3
Godot 3 adds support for C#. This article explains how to utilize that so you can write game code in F#.
The following article explains the workflows. If you want to see the result check out the project files.
NOTE: Currently this article deals with the workflow using Windows and Visual Studio only. I intend to update it with the corresponding linux workflow later.
Why F#?
The greatest feat of C# is that it allows you to mix and match a lot of different styles. But this comes at a price, since in my experience it takes a very experienced and insightful programmer to know about different programming paradigms, stick to the one you chose and choose the right one depending on the kind of code you are writing. So probably the biggest difference between C# and F# is that F# is a much more opinionated language. There's not much that you can do in F# that you really can't do in C#, but software development is not about what you can or can't do, it's about what you end up doing. By making it easier to stick to established rules than to break them F# creates what has become known as a "pit of success" (see this talk by Mark Seemann for more details).

Step 1: Create a Godot project with a C# script
Start by creating a new project in Godot 3 (using the version with Mono support). Once that's done create a new scene called Player.tscn and add a C# script called Player.cs.

Step 2: Add an F# project to the solution
- Adding a C# script not only creates a .cs file but it also generates a solution file. Navigate to the project folder and open the solution file using Visual Studio.
- Next add a new F# project to the solution. Choose "Library" from the "Visual F#" section as the template.
- Edit the new project's properties and set the target framework to ".NET Framework 4.5".
- Now right-click the references and add both "GodotSharp" and "System.Runtime". You'll have to browse for them - GodotSharp.dll can be found in the ".mono/assemblies" subfolder of your project. You'll probably have System.Runtime.dll on your computer more than once. It doesn't matter which one you choose, Visual Studio just uses the path you provide as a hint and locates the correct file by itself.
- Lastly add a reference to the new F# project to the C# project that was generated by Godot.
Step 3: Write a class in F# and reference it in C#
The key trick to using F# in Godot is very simple: just write a class in F# and inherit from it in a C# class.
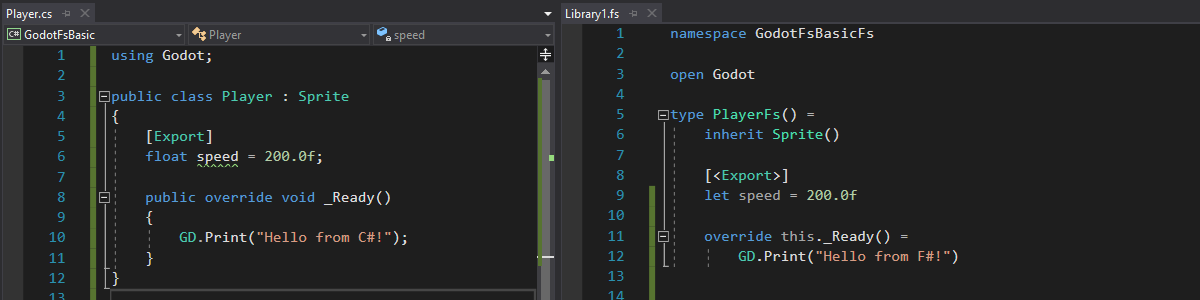
So go to the C# class that was generated by Godot. Remove everything from the file and replace it with
using GodotDemoFs;

public class Player : PlayerFs
{}
Now go to the .fs-file in your F# project and add this code:
namespace GodotDemoFs

open Godot

type PlayerFs() =
    inherit Node()

    override this._Ready() =
        GD.Print("Hello from F#!")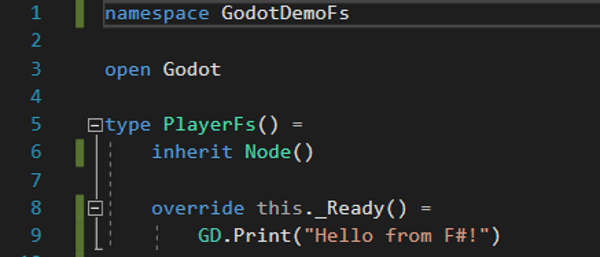
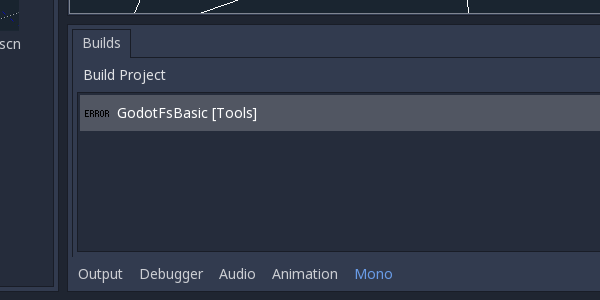
Step 4: Save and Compile
Last but not least save all changes, go back to the Godot editor, open up the "Mono" panel at the bottom of the screen and click "Build Project".